
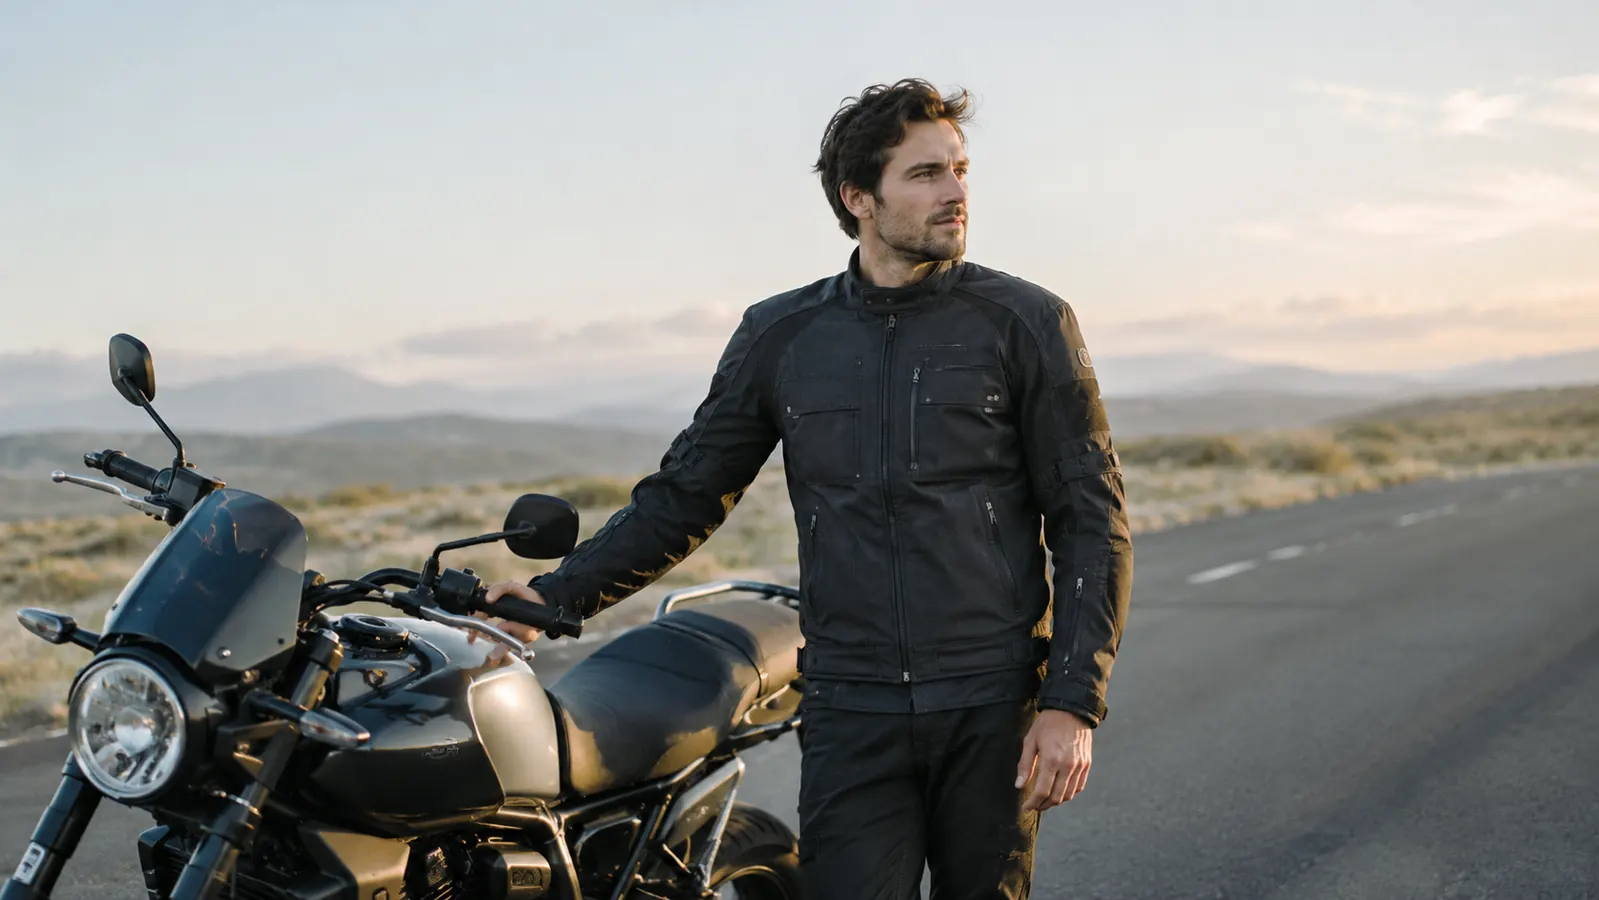
I have ridden a Harley-Davidson Heritage Softail for about 22 years now, and I can tell you the exact moment I stopped dreading the weather: the day I stopped treating one jacket like it had to do everything. In Bakersfield, summer hits 100 degrees by mid-morning, winter mornings sit in the high 30s, and spring can hand you rain, wind, and sunshine in the same hour. The HWK Motorsports Apparel Adventure Motorcycle Jacket is the jacket I reach for more than any other, because it is built to be layered and adjusted rather than replaced. This guide is the system I actually use, season by season, so you can stay comfortable without owning a closet full of riding gear.
Before we get into the steps, here is the short version. The HWK Motorsports Apparel jacket is a 600D Cordura textile shell with removable armor at the shoulders, elbows, and back, plus a removable thermal liner. That means one shell can do summer, winter, spring, and fall if you learn how to layer it and when to open the vents. I have worn this jacket on weekend group rides, on long highway days, and in Central Valley heat, and the same jacket has kept me comfortable in all of it. Here is exactly how.
One Jacket, Four Seasons: Start With the Right Shell
The HWK Motorsports Apparel Adventure Motorcycle Jacket is the shell I build every season around. Check today's price on Amazon and see if it fits your riding style.
Amazon Check Today's Price on Amazon →Step 1: Set Up the Jacket Once, the Right Way
The first time you get the jacket, do not just pull it on and ride. Take ten minutes to set it up, because every season after this depends on it. The HWK Motorsports Apparel jacket comes with armor at the shoulders, elbows, and back. Check that the armor sits exactly over those spots while you are in a riding position, not standing with your arms straight down. Reach for an imaginary set of handlebars and have someone look at the elbow armor. It should stay put when you move. When I first got mine, I made the mistake of checking the fit standing in the kitchen, and the elbow armor sat fine. The first time I actually leaned into the bars, the left pad had slid down toward my forearm. I pulled over at the end of the block and fixed it, and I have checked it the same way ever since.
Next, figure out which liner situation you need. The jacket has a removable thermal liner for cold weather. It is not waterproof, so for wet weather I carry a packable rain shell. You can run the shell alone or with the liner, and add the rain shell over the top when you need it. I keep the thermal liner in from about November through February, and I keep the rain shell in my saddlebag from spring through fall, because that is the season when a surprise shower is most likely. On a ride in late April two years ago, the sky was clear when we left Bakersfield and raining by the time we crossed the Grapevine. I had the rain shell in the saddlebag, so I pulled over at a gas station and had it on before the real rain started. The two riders with me who had left their rain gear at home spent the next hour soaked.
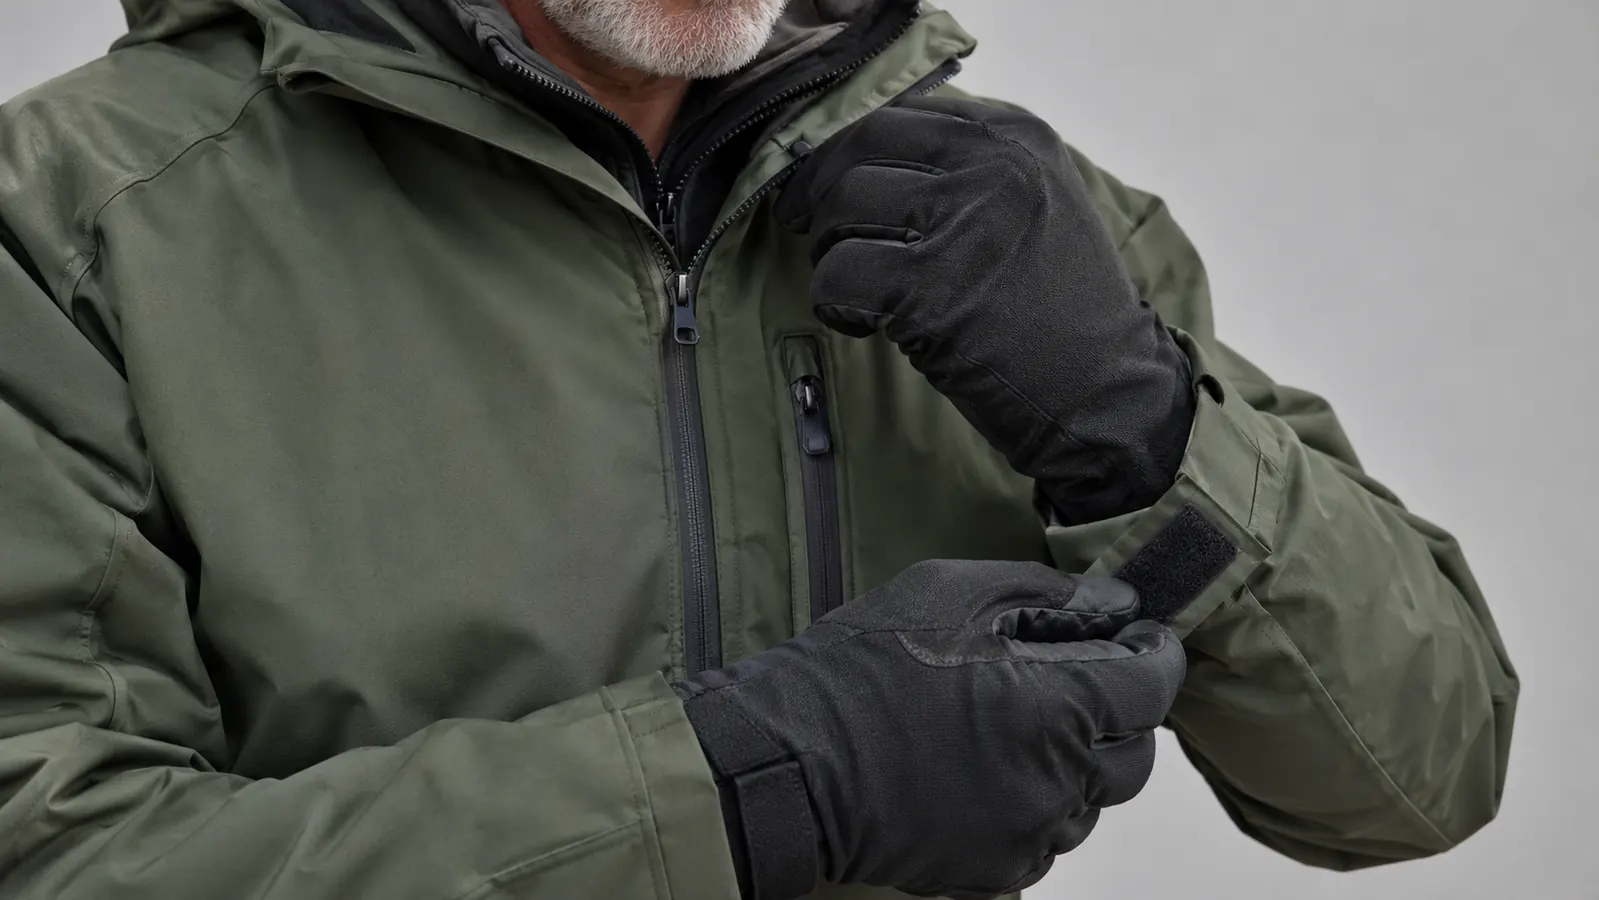
Finally, adjust the cuffs, waist, and collar before you ride. The cuffs should be snug enough that wind does not whistle up your sleeves, but not tight enough to cut circulation on a long day. The waist adjusters keep the jacket from flapping at highway speed. And the collar should sit close to your neck without choking you. Get these three right once, and you will not be fiddling with them at every gas stop. I set mine on a Saturday morning before a group ride, and I have barely touched the waist adjusters since. The cuffs I do re-check in winter, because I wear thicker gloves and the fit changes.
Step 2: Layer for Cold Mornings Without Bulking Up
Cold weather riding is about layers, not about one thick jacket. On a 40-degree morning, I wear a thin merino or synthetic base layer, a mid-weight fleece, and the HWK Motorsports Apparel jacket with the thermal liner in. That combination has kept me comfortable down into the high 30s on highway rides, and it still lets me move my arms freely. The key is that the jacket is cut to fit over layers without feeling like a straitjacket. I learned this the hard way on a January ride to the coast. I wore a heavy wool sweater under the jacket, and by the time we reached the mountains I could barely lift my arms to signal a turn. The armor had shifted, the sleeves were binding, and I was miserable. Thin layers fixed all of it.
Do not make the mistake of wearing a puffy winter coat under a riding jacket. It bunches up, it shifts the armor out of place, and it makes you overheat the second the sun comes out. Instead, use thin layers that trap air. A windproof base layer or a thin down vest works better than one bulky sweater. And always keep your neck covered. A simple neck gaiter does more for cold-weather comfort than almost anything else you can add. I keep two gaiters in the saddlebag from November through March, one fleece and one windproof, and I swap them depending on the forecast.
One more cold-weather tip: warm your hands before you ride. If your core is warm but your hands are cold, you will grip the bars too tight and your hands will go numb. I keep a pair of insulated gloves in the saddlebag from November through March, and I put them on about five minutes before I leave. It makes a bigger difference than you would think. On a 38-degree morning last January, I forgot to warm my hands and spent the first twenty miles fighting the bars. The next weekend I started the same ride with the gloves on while I checked the route, and my hands were still warm at the first fuel stop.
Step 3: Use the Vents and Liner for Spring and Fall
Spring and fall are where the HWK Motorsports Apparel jacket really earns its keep, because the weather changes hour to hour. On a typical spring morning in the Central Valley, it is 55 degrees when you leave and 75 by the time you stop for breakfast. The trick is to start with the thermal liner in and the vents closed, then open the chest and sleeve vents as the day warms up. You can do this at a stoplight without taking the jacket off. I have done it at the same stoplight on Coffee Road for three springs now, and it takes about four seconds per vent.
The jacket's ventilation is the feature I use most. The chest vents let air flow across your torso, and the sleeve vents help on the highway. When the temperature climbs, I open the vents before I think about removing the liner, because the vents do most of the work. If it is still warm with the vents open, then I pull the thermal liner out at the next stop and stow it in the saddlebag. On a fall ride in October, we left at 48 degrees and hit 78 by early afternoon. I opened the vents at the first stop, pulled the liner at the second, and never once felt like I was riding in the wrong jacket.
For fall, reverse the order. Start with the liner out and the vents open, then close the vents as the afternoon cools. The rain shell goes in the saddlebag from the first rain forecast until the last spring shower, because a sudden downpour is the one thing that can ruin a good ride faster than anything else. With the rain shell over it, you can still get home dry. I have tested it in a steady March drizzle for about an hour, and my base layer stayed dry the whole way.
Step 4: Stay Cool in Summer Heat Without Sacrificing Protection
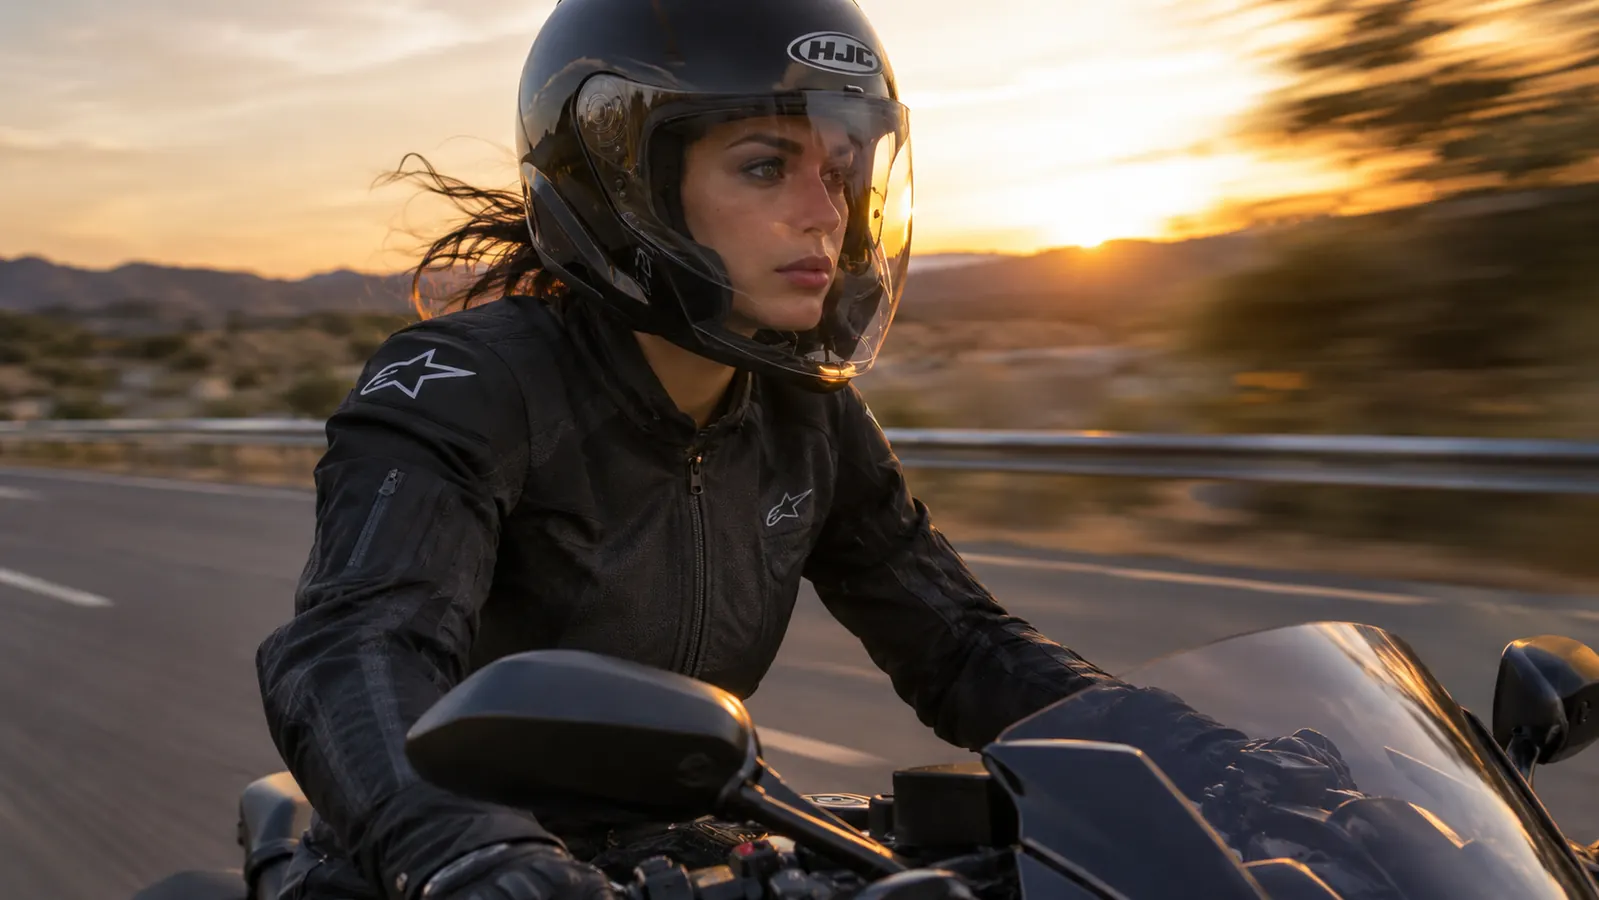
Summer in Bakersfield is the real test. When it is 100 degrees at 10 a.m., the temptation is to ride in a t-shirt. I get it, I have done it, and I have the road rash memories to prove why I do not anymore. The HWK Motorsports Apparel jacket with the liner removed is surprisingly bearable in heat, because the 600D Cordura shell breathes and the vents flow air across your body at speed. The armor stays in place, which is the whole point. On a July ride to the Kern River, it was 104 when we left town, and I kept the jacket on the whole way. I was warm, but I was not miserable, and I did not have to think about what would happen if I went down.
The biggest summer mistake is wearing a wet t-shirt under your jacket. It feels cool for ten minutes, then it traps heat and chafes. Instead, wear a thin moisture-wicking base layer. It pulls sweat away from your skin, and when the wind hits the vents, the evaporation cools you. I also wear a cooling neck gaiter that I wet before I leave. It drops my core temperature noticeably on the first hour of a ride. I tried the wet t-shirt trick exactly once, on a ride to the coast in August, and I regretted it by the time we hit the first climb. The damp fabric turned cold and clammy the moment we slowed down, and I spent the rest of the day uncomfortable.
Hydration is part of the gear. I carry a water bottle in the saddlebag and drink at every stop, even if I do not feel thirsty. Heat exhaustion creeps up on you on a long ride, and it makes your reaction time worse before you notice anything else. If you start feeling dizzy or your vision gets weird, pull over, get in the shade, and drink water. The ride can wait. I set a reminder on my phone for every hour on long summer days, because once I am having fun I will forget to drink.
Step 5: Handle Rain and Wind Like a Local
Rain is the condition that separates riders who enjoy the hobby from riders who quit for the season. With a rain shell over the top, the HWK Motorsports Apparel jacket gets you through a steady rain. The key is to put the rain shell on before you leave, not after you are already wet. I also carry a lightweight rain cover for my saddlebag, because a dry change of clothes at the destination is worth more than gold. On a wet ride to Morro Bay last winter, the rain started about an hour in, and with the rain shell zipped over the jacket I stayed mostly dry while the road spray did its best to find every gap. My jeans were damp by the end, but my core and arms were dry.
Wind is the sneaky one. A 20 mph crosswind will drain heat from your body faster than cold air alone, and it will push you around at highway speed. The jacket's adjustable waist and cuffs help keep the wind from getting inside, and a windproof base layer underneath makes a huge difference. On windy days, I also tuck my chin slightly and keep my elbows in. It sounds small, but it cuts drag and keeps you stable. I noticed the difference most on a gusty stretch of Highway 58, where the crosswind was strong enough to lean the bike. With the waist cinched and my elbows in, I stopped fighting the bars and just rode.
One more rain tip: treat the jacket's outer shell with a water-repellent spray at the start of the wet season. The 600D Cordura is already water-resistant, but a fresh treatment makes the water bead up and roll off instead of soaking in. It takes five minutes and it makes the rain shell's job much easier. I do this every October and every March. I use a spray I keep in the garage, apply it to a clean jacket, and let it dry overnight before the jacket goes back on the bike.
What Else Helps
The jacket is the center of the system, but a few extras make every season more comfortable. A good pair of armored gloves matters more than people think, because cold hands make your whole body feel cold. Heated grips are worth every penny if you ride a lot in the winter. And a full-face or modular helmet keeps wind off your face and neck, which means you can wear a lighter base layer. I also keep a small tool kit and a tire repair kit in the saddlebag, because being stranded in bad weather is the fastest way to hate riding. On a group ride last fall, a rider a few bikes ahead of me picked up a nail, and having a plug kit meant we were back on the road in twenty minutes instead of waiting for a tow.
The same HWK Motorsports Apparel jacket that kept me warm at 38 degrees in January is the one I wear with the liner out at 100 degrees in July. That is the whole point of a season-proof system.
Build Your Four-Season System Around One Jacket
The HWK Motorsports Apparel Adventure Motorcycle Jacket is the shell I have worn through every season in California. Check today's price on Amazon and see if it fits your riding style.
Amazon Check Today's Price on Amazon →